How do I hide Elevation individual callouts \ markers in plan?
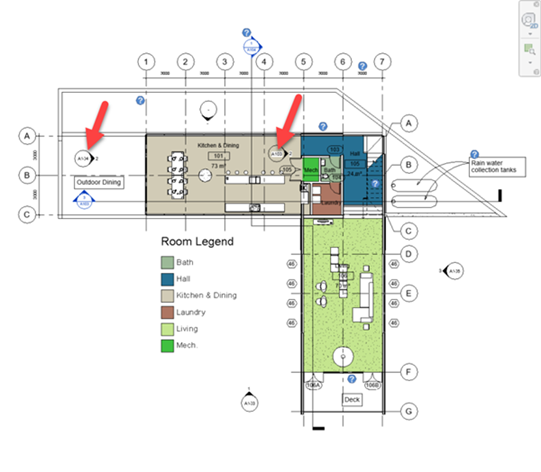
Have you ever wanted to hide individual elevation callout in a plan view?
For example, maybe you want to hide an interior elevation callout, while still displaying exterior callouts.
To hide the callout, most Revit users probably right click each symbol and use the “Hide in View -> Element” option. Sure, it works, but if there was more than one, it requires you to select each callout to turn off. You then need to do the same when you want them back on. There is another, I’d say, better option.
You can use Visibility Graphics Override Filters to hide items based on information. You can build a filter for the Interior elevation callouts to allow you to control their visibility, as well as control other graphic settings.
Here’s the steps.
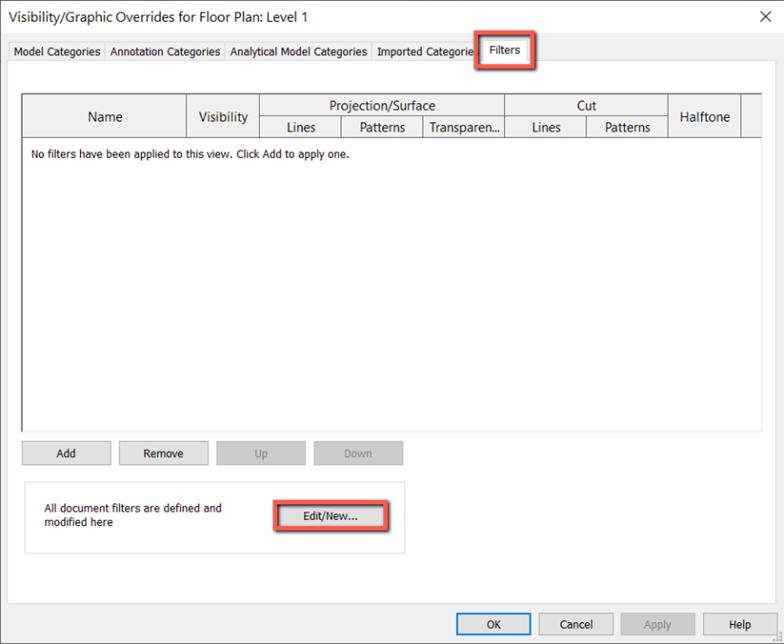
- Open the Visibility Graphics dialogue and select the Filters tab. Select Edit/New.
2. Create a new filter and give it a descriptive name. Select “Elevations” from the Categories list. Under the Filter Rules select “Elevation” -> Family and Type -> Equals -> Interior Elevations.
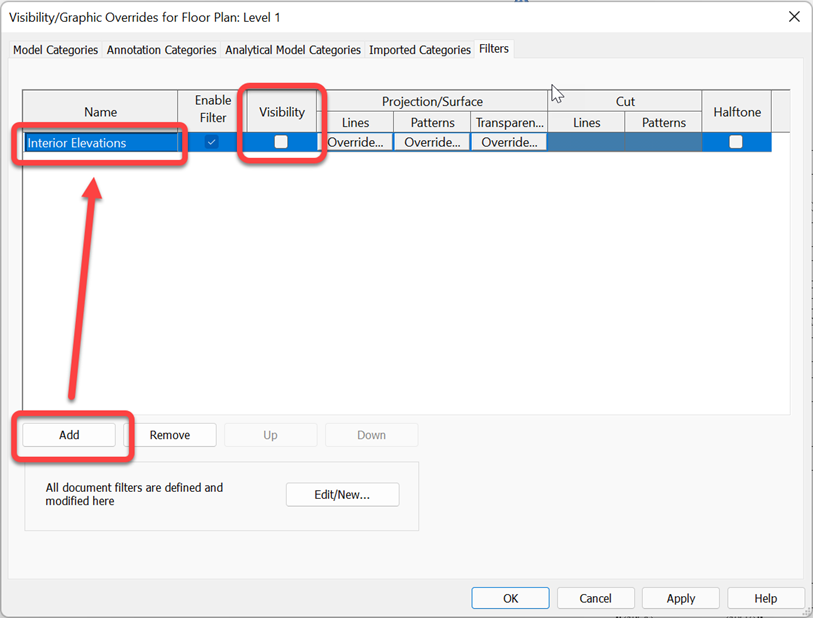
3. In the Visibility Graphics Dialogue Select Add > Select the filter that was just created > Turn the visibility off.
Bonus Tip!!
If you want to make this change to multiple plan views, create a View Template that includes the view filter. (What are View Templates and Why should I use them.)
